
I don't seem to get enough of openwork lace at the moment. After completing my Winter's End Scarf, a mohair lace scarf that combines condo knitting and twisted stitches, I decided to prepare an openwork swatch sample for this week's weekly swatch.
This weekend I completed the final rows of my Winter's End scarf and proceeded to block the scarf right after it came off the needles. The Winter's End scarf is knitted with fine 3 ply lightweight mohair yarn. As the pattern is straightforward and simple, this was my in-between, go-to project for the past four months.
 |
The stitch pattern for the scarf is a simple 1x1 rib and to keep things interesting and achieve a unique look, this mohair scarf pattern incorporates a technical twist. In order to achieve the long chain of stitches and airy texture of the scarf, the project is knitted on needles of two different sizes, radically different sizes to be precise: 2mm and 8mm.
 |
| Free Mohair Scarf Knitting Pattern |
For this reason, and even though the project is perfectly suitable for beginner knitters, the challenge lies not so much in the stitch pattern, but in its execution; i.e. staying in charge of the fuzzy yarn, whilst working the pattern on odd needles and showing them who is boss.
 |
| Free Mohair Scarf Knitting Pattern |
I enjoy working with superfine mohair and really appreciate the unique qualities of this type of yarn, but I am well aware that the fuzziness of the material can be a source of frustration. From my experience with mohair knits, the golden rule for working with this type of yarn is to cast on loosely and to ensure you do not knit tightly. (More information on this, is available here.) This advice holds true for all mohair knits, but is even more important when knitting with mohair on odd needles.
For the Winter's End Scarf I used Yeoman's 3 ply Elsa ( 30% mohair 40% acrylic 30% nylon), which is a budget option when it comes to Mohair yarn. The pattern is equally suitable for similar yarns or more upmarket choices with a higher mohair component (such as Drops Kid Silk) or, if you are preferring the luxury option, those with an added silk component, i.e. Rowan Kid Silk Haze or Debbie Bliss Angel.
 |
| Free Mohair Scarf Knitting Pattern |
Gauge is not important for this project and my scarf is designed to be 35 cm wide and 135 cm long, thus producing a generous, versatile piece that can be worn in a variety of ways, either wrapped around the neck several times to keep chills away, as an accessory draped loosely around the shoulders to show off the knitting or as a protective layer for the head, shielding you from the elements, whilst simultaneously covering your entire head without destroying the hairstyle underneath.
For a narrower scarf, simply cast on fewer stitches, ensuring you cast-on an odd number of stitches. The length of the scarf can be adapted by measuring the scarf as you knit.
 |
| Free Mohair Scarf Knitting Pattern |

 |
Arrowhead Lace Knit Stitch |

When I was knitting my Virga Shawl, I wanted to incorporate a ruffled edge detail, but didn't feel like working m1l / m1r increases, considering the overall stitch count at this stage of the project (over 500 stitches). And so the search began for a simpler way of working the ruffled edging without m1l / m1r increases.
 |
| Knitted Ruffled Edging - Virga Shawl Detail |

The most common, simple ruffled edging is achieved by working m1l (make one left) and m1r (make one right) increases into the knitting. In the instructions below for a ruffled edge worked at the end of the knitting on a multiple of 6 plus 5 stitches, the m1l / m1r increases are placed just before and after the knit stitches on the right side rows. This results in an increase of purl stitches on the following row (wrong side row), whilst the amount of knit stitches on the wrong side rows remains constant throughout. In turn, as the stockinette part of the fabric grows, this creates the ruffle on the right side of the knitting.
The stitch pattern for a ruffled edging with M1L / M1R increases is as follows:
Row 1 (RS): P5, *k1, p5, rep from * end.
Row 2 (WS): K5, *p1, k5, rep from * end.
Row 3 (RS): P5, *M1R, k1, M1L, p5, rep from * end.
Row 4 (WS): K5, *p3, k5, rep from * end.
Row 5 (RS): P5, *M1R, k3, M1L, p5, rep from * end.
Row 6 (WS): K5, *p5, k5, rep from * end.
The m1l and m1r increases between the sections of purl and knit stitches are continued as shown above until the ruffled edging has reached the desired length.
Whilst the above technique produces a neat looking ruffled edge, it is time consuming as a result of the m1l / m1r increases.
 |
The Simple Ruffled Edge - Without M1L / M1R Increases |
In my efforts to avoid m1l / M1r, I decided to try knitting the ruffled edge with kfb (knit one into front and back) increases initially. Yet, when I knitted my edge sample with kfb increases, I didn't feel that the symmetry of the edging looked quite right, as the kfb increases created large holes in the fabric. All in all, I felt that the kfb increases didn't look neat. To fix this and improve the appearance of the ruffled edge without working m1l and m1r increases, I proceeded to work the increases slightly differently and tried something new.
Instead of knitting in the front and back of the stitch that was to be increased, I decided to work p/ktbl and k/ptbl increases before and after the knit stitches on the right side row. (I am not sure whether the abbreviations k/ptbl and p/ktbl are correct, but as I was unable to find them referenced anywhere, I am for now just going along with these abbreviations to describe this type of increase.)
The p/ktbl and k/ptbl increases are achieved by purling (as normal) and then knitting through the back loop of the same stitch (p/ktbl) and by knitting (as normal) and then purling through the back loop of the next increase stitch (k/ptbl), thus maintaining the symmetry of knit and purl stitches.
Increasing in this way tightens the holes, that would appear if a simple kfb increase was used, and is also much faster than working the m1l / m1r increases, which are traditionally called for. By working the increases into the purl stitch immediately preceding and following the knit stitches I maintained the increases on the right side rows just before and after the knit stitches.
The stitch pattern for a ruffled edging with a multiple of 6 plus 5 stitches worked with P/ KTBL and K/PTBL increases looks like this:
Row 1 (RS): P5, *k1, p5, rep from * end.
Row 2 (WS): K5, *p1, k5, rep from * end.
Row 3: P4, *(p/ktbl) into same stitch, k1, (k/ptbl) into same stitch, p3, rep from * to last stitch, p1.
Row 4: K5, *p3, k5, rep from * end.
Row 5: P4, *(p/ktbl) into same stitch, k3, (k/ptbl) into same stitch, p3, rep from * to last stitch, p1.
Row 6: K5, *p5, k5, rep from * end.
Row 7: P4, *(p/ktbl) into same stitch, k5, (k/ptbl) into same stitch, p3, rep from * to last stitch, p1.
Row 8: K5, *p7, k5, rep from * end.
Row 9: P4, *(p/ktbl) into same stitch, k7, (k/ptbl) into same stitch, p3, rep from * to last stitch, p1.
Row 10: K5, *p9, k5, rep from * end.
Row 11: P4, *(p/ktbl) into same stitch, k9, (k/ptbl) into same stitch, p3, rep from * to last stitch, p1.
Row 12: K5, *p11, k5, rep from * end.
Continue to increase as above until the edging has reached the desired length and proceed to bind off in pattern.
 |
| Simple Knitted Ruffled Edge |
For more knit stitch patterns, please follow this link to my knit stitch library.

 |
| Little Laurel / Coin Knit Stitch |


Not having mastered the ability to knit and read at the same time (and doubting I ever will), I am continuing to turn to audiobooks to provide some additional stimulation when working on my knitting projects. As I have been knitting quite prolifically during the past year, the number of books I physically read in 2020 has plummeted, whilst my consumption of audiobooks appears to have increased quite significantly compared to previous years.
Provided my count is correct, I seem to have listened my way through some 20 audiobooks between January 2020 and now. This group makes up a wide selection of genres, including literary fiction, historical fiction, fairy tales, young adult, fantasy, horror and, of course, some crime, mystery and suspense.
It's been relatively quiet on the knitting front these past few weeks and despite my best efforts, I haven't been able to block my finished projects, including a bottom-up sweater (for which I haven't even taken photos due to a lack of daylight) and my Virga shawl, which I finished back in the summer.
 |
| Virga Shawl |
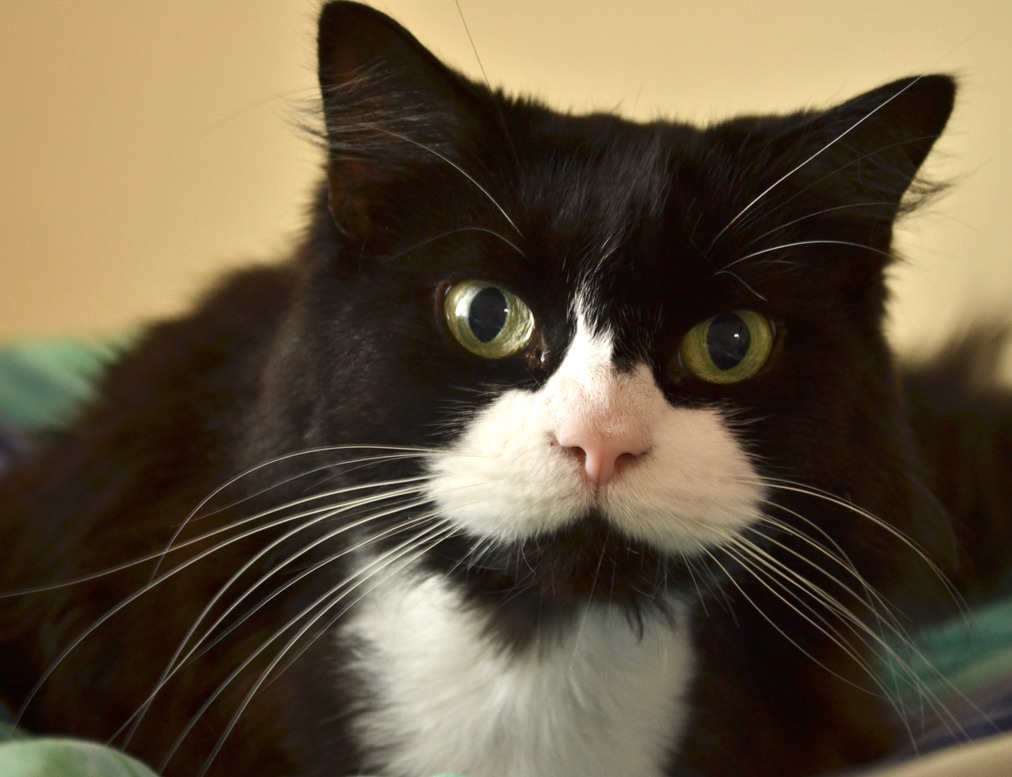 |
| Mietze one month after her unilateral thyroidectomy |
 |
| Mietze |
 |
| Fingering Weight Mohair Shawl |
 |
| Fingering Weight Mohair Shawl |

