Sunday, 14 March 2021

A Sock Knitting Weekend - Stylecraft Head over Heels Sock Yarn Review


It's been a sock knitting kind of weekend...

Stylecraft - Head over Heels Sock Yarn Review (Shade: Olympus)
Stylecraft - Head over Heels Sock Yarn (Shade: Olympus) 

I haven't knit socks in ages, but a return to sock knitting has been on the cards for some time. Having picked up two skeins of Stylecraft Head over Heels sock yarn on a whim some time late last year, I finally got round to starting on my socks this weekend. 

I am pleased to say, the first sock is now finished (I always knit them individually) and presently blocking on a makeshift cardboard sock blocker. Looking at my homemade sock shaper, I think it's fair to admit that the instep section will have to go on a diet.

Stylecraft - Head over Heels Sock Yarn (Shade: Olympus)
Sock Blocking in progress (on homemade cardboard sock shaper)

Today, I am planning to cast-on for sock number 2.

I am not following a pattern or attempting to produce anything fancy with this project. Instead, I wanted to get back into sock knitting by starting off with a simple, ankle-length, top-down stockinette stitch sock with a ribbed cuff. 

This project is predominantly an exercise in (re-)familiarising myself with basic sock anatomy, revisiting sock construction techniques (turning the heel / picking up stitches / working toe decreases) and the calculation of measurements to achieve a good, personal fit. 

Stylecraft - Head over Heels Sock Yarn


All in all, a fun, simple and quick knit, which, most importantly, allows me to knit a portable project on small needles. I have just finished a condo knitting, openwork project with mohair yarn, the Winter's End Scarf, on size 2mm and size 8mm straight needles, using Yeoman's Elsa mohair fingering weight yarn, which comes on a cone, and was thus confined to my work desk to accommodate the cone and the growing mohair scarf for the duration of this project. The current sock project certainly feels like a relief in this respect. I can even knit this project standing up.

Now, after completing sock number one with my first skein of Stylecraft Head over Heels, I wanted to share my experience of knitting with this sock yarn, especially after reading some of the reviews of the yarn on the web and on Ravelry. 

Stylecraft - Head over Heels Sock Yarn Review


Stylecraft Head over Heels Sock Yarn Review

Saturday, 13 March 2021

The Weekly Swatch: Lattice Cable Knit Stitch Pattern / Knit Stitch Tutorial


It's been absolute ages since I last worked on a cable knit project and only one of my weekly swatch posts features a cable knit stitch. High time to address this absence of cable knitting and so I have decided to prepare a cable knit swatch for this week's weekly swatch post. 

I have chosen the Lattice Cable Knit Stitch, a classic and simple cable knit stitch, which is knitted over 10 rows (once the set up is done, 7 rows) on a multiple of 6 stitches.

Tuesday, 9 March 2021

The Weekly Swatch: Wrapped Openwork Lace Columns (Knit Stitch Tutorial)

Wrapped Lace Openwork Columns Knit Stitch Tutorial

I am still in love with openwork knit stitches and have prepared another super simple openwork knit stitch for this week's weekly swatch. 

This knit stitch is worked over two rows on a multiple of three plus two stitches, making this an extremely simple, yet highly versatile lace ribbing stitch. This stitch looks (and feels) entirely different, depending on the yarn used. To showcase the look of this stitch in different yarn weights, I knitted my swatches in the images below with Araucania Botany Lace (sock yarn) and Rowan Bamboo Soft. 

Monday, 1 March 2021

The Weekly Swatch: Ratchet Eyelet Knit Stitch


Cogwheel Eyelet Lace Knit Stitch

Catching up with the weekly swatch posts today, next up is the Ratchet Eyelet knit stitch. 

This stitch motif is knitted over 28 rows, making this a more elaborate stitch. When complete, the stitch results in what looks like garter stitch medallions, which are framed in a circle of eyelets, resembling ratchets. All the wrong side rows are purled throughout, allowing you to take a break from all the in- and decreasing on the right side rows. 

The Weekly Swatch: Openwork Lace Knit Stitch


Openwork Lace Knit Stitch


I don't seem to get enough of openwork lace at the moment. After completing my Winter's End Scarf, a mohair lace scarf that combines condo knitting and twisted stitches, I decided to prepare an openwork swatch sample for this week's weekly swatch. 

Sunday, 21 February 2021

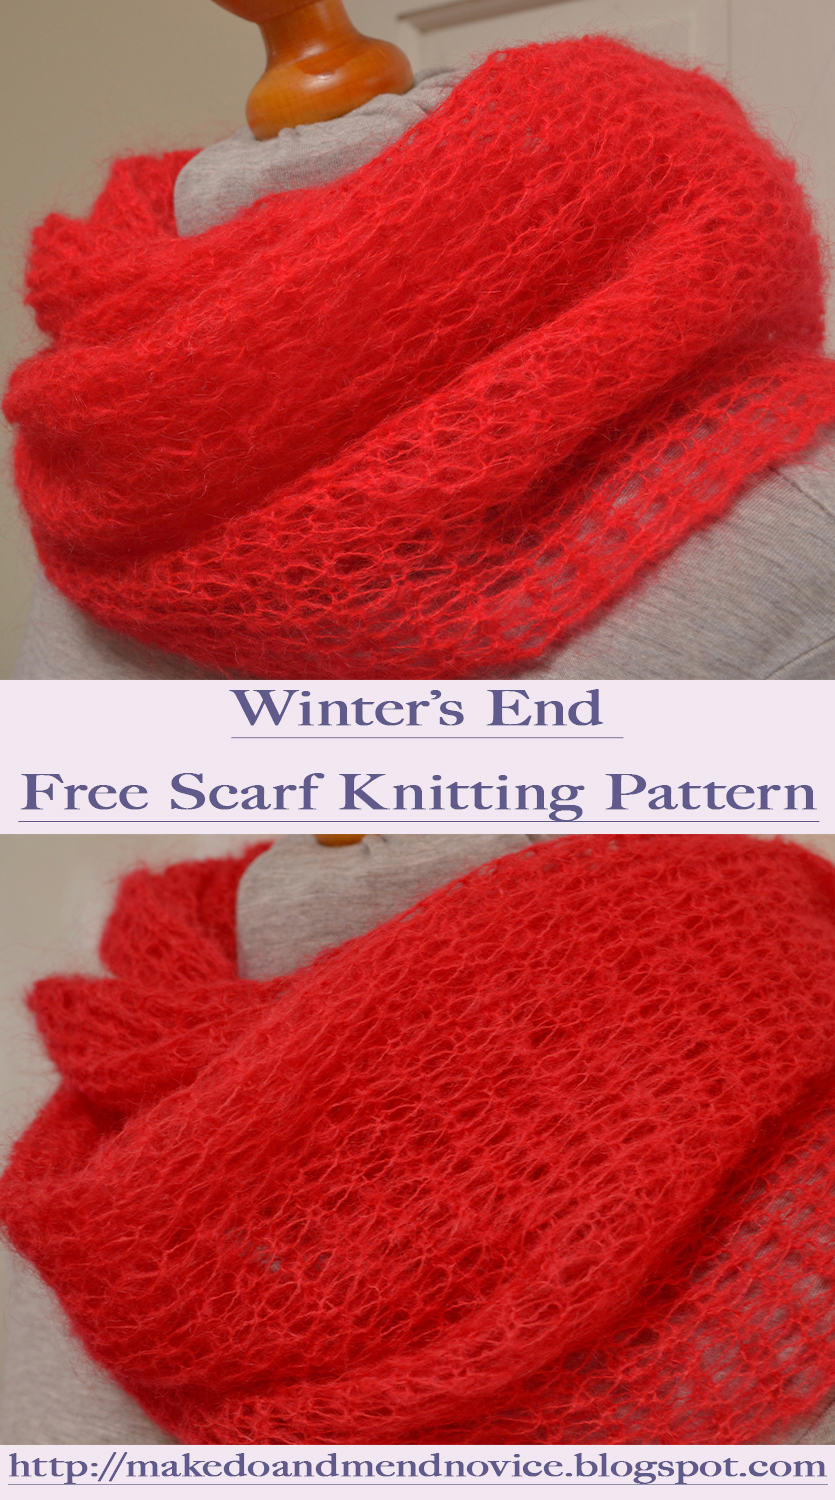
Free Mohair Scarf Knitting Pattern: The Winter's End Scarf

This weekend I completed the final rows of my Winter's End scarf and proceeded to block the scarf right after it came off the needles. The Winter's End scarf is knitted with fine 3 ply lightweight mohair yarn. As the pattern is straightforward and simple, this was my in-between, go-to project for the past four months. 

Free Mohair Scarf Knitting Pattern


Simple Mohair Knitting Pattern with a Technical Twist

The stitch pattern for the scarf is a simple 1x1 rib and to keep things interesting and achieve a unique look, this mohair scarf pattern incorporates a technical twist. In order to achieve the long chain of stitches and airy texture of the scarf, the project is knitted on needles of two different sizes, radically different sizes to be precise: 2mm and 8mm. 


Free Mohair Scarf Knitting Pattern
Free Mohair Scarf Knitting Pattern 

For this reason, and even though the project is perfectly suitable for beginner knitters, the challenge lies not so much in the stitch pattern, but in its execution; i.e. staying in charge of the fuzzy yarn, whilst working the pattern on odd needles and showing them who is boss.


Free Mohair Scarf Knitting Pattern
Free Mohair Scarf Knitting Pattern 


I enjoy working with superfine mohair and really appreciate the unique qualities of this type of yarn, but I am well aware that the fuzziness of the material can be a source of frustration. From my experience with mohair knits, the golden rule for working with this type of yarn is to cast on loosely and to ensure you do not knit tightly. (More information on this, is available here.) This advice holds true for all mohair knits, but is even more important when knitting with mohair on odd needles.  

For the Winter's End Scarf I used Yeoman's 3 ply Elsa ( 30% mohair 40% acrylic 30% nylon), which is a budget option when it comes to Mohair yarn. The pattern is equally suitable for similar yarns or more upmarket choices with a higher mohair component (such as Drops Kid Silk) or, if you are preferring the luxury option, those with an added silk component, i.e. Rowan Kid Silk Haze or Debbie Bliss Angel. 


Free Mohair Scarf Knitting Pattern
Free Mohair Scarf Knitting Pattern 


Gauge is not important for this project and my scarf is designed to be 35 cm wide and 135 cm long, thus producing a generous, versatile piece that can be worn in a variety of ways, either wrapped around the neck several times to keep chills away, as an accessory draped loosely around the shoulders to show off the knitting or as a protective layer for the head, shielding you from the elements, whilst simultaneously covering your entire head without destroying the hairstyle underneath. 

For a narrower scarf, simply cast on fewer stitches, ensuring you cast-on an odd number of stitches. The length of the scarf can be adapted by measuring the scarf as you knit.


Free Mohair Scarf Knitting Pattern
Free Mohair Scarf Knitting Pattern 


Sunday, 14 February 2021

The Weekly Swatch: Staggered Eyelets


Staggered Eyelet Knit Stitch


Catching up with the posting of the weekly swatches today, next up is my swatch featuring simple staggered eyelets. It's worked over eight rows on a multiple of four plus three stitches, with the lace in- and decreases on rows three and seven.  

The Weekly Swatch: Chevron and Feather Knit Stitch


Chevron and Feather Lace Knit Stitch


A variation of the classic Feather Knit Stitch, the Feather and Chevron Knit Stitch is simple, yet impactful, as it creates a beautiful scalloped edge. This stitch can be memorised without problem. The stitch motif is created over two rows and the wrong side rows are purled throughout. 

Saturday, 13 February 2021

The Weekly Swatch: Arrowhead Lace Knit Stitch


Arrowhead Lace Knit Stitch


The Arrowhead Lace Knit Stitch is a dainty lace knit stitch that results in vertical, arrow-shaped columns of lace, ideal for rectangular garments. It's knitted over four rows on a multiple of 10 plus 1 stitches. All the wrong side rows are purled throughout.

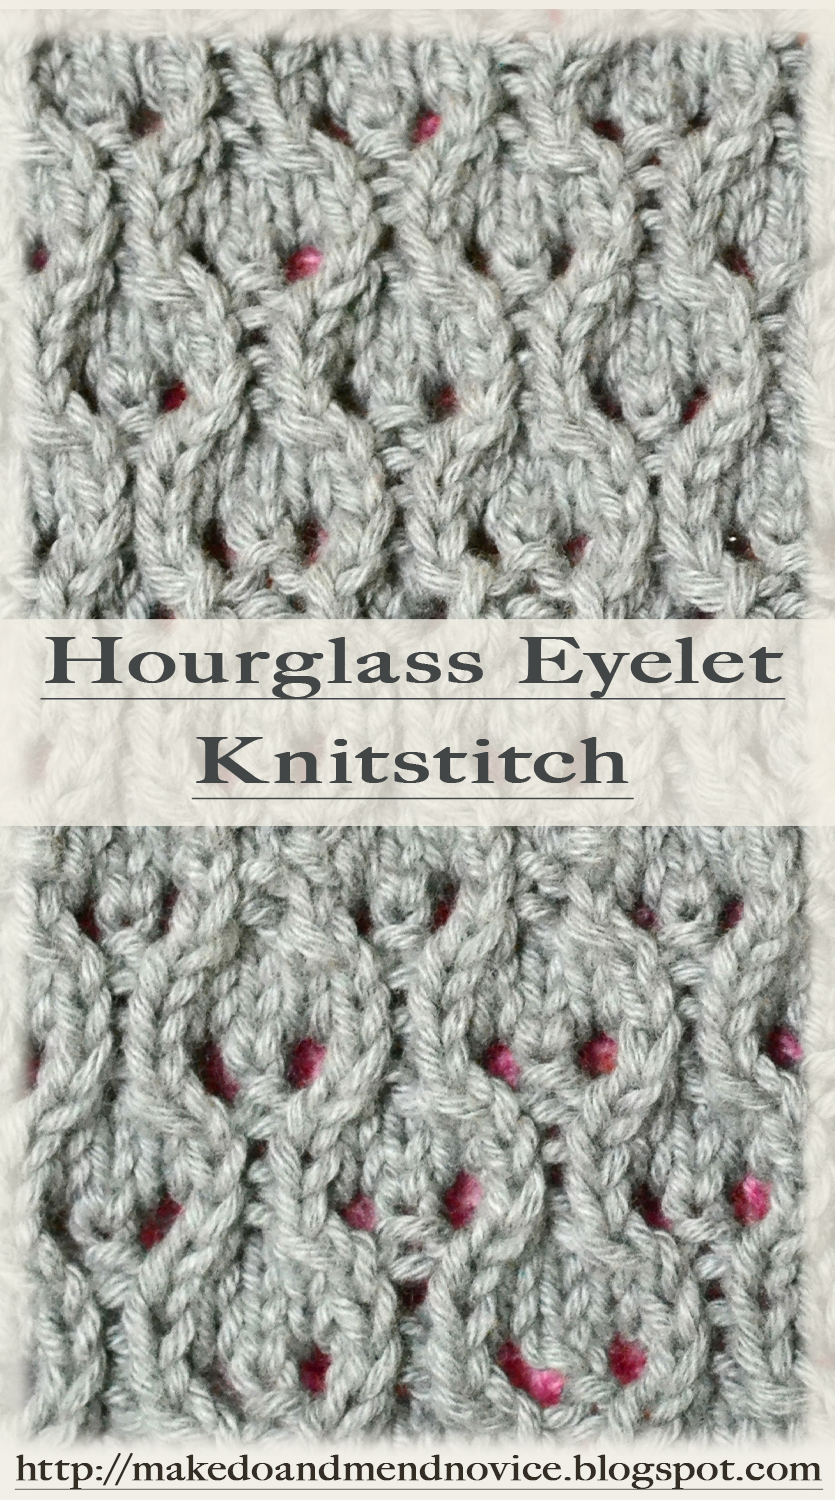
The Weekly Swatch: Hourglass Eyelets


Hourglass Eyelet Knitstitch


This week's swatch is the hourglass eyelet knitstitch, and whilst preparing my swatch sample, the stitch reminded me indeed of ladies' hips. 

It's a simple stitch pattern and the texture of the stitch motif is achieved through a combination of knit and purl stitches as well as standard in- and decreases. The stitch is worked over 8 rows on a multiple of 6 plus 1 stitches. 

Sunday, 31 January 2021

The Simple Ruffled Edge - Without M1L / M1R Increases

The Simple Knitted Ruffled Edge (worked at the end of the knitting)  

When I was knitting my Virga Shawl, I wanted to incorporate a ruffled edge detail, but didn't feel like working m1l / m1r increases, considering the overall stitch count at this stage of the project (over 500 stitches). And so the search began for a simpler way of working the ruffled edging without m1l / m1r increases. 

Knitted Ruffled Edging
Knitted Ruffled Edging  - Virga Shawl Detail    


The Simple Ruffled Edge - With M1L / M1R Increases

The most common, simple ruffled edging is achieved by working m1l (make one left) and m1r (make one right) increases into the knitting. In the instructions below for a ruffled edge worked at the end of the knitting on a multiple of 6 plus 5 stitches, the m1l / m1r increases are placed just before and after the knit stitches on the right side rows. This results in an increase of purl stitches on the following row (wrong side row), whilst the amount of knit stitches on the wrong side rows remains constant throughout. In turn, as the stockinette part of the fabric grows, this creates the ruffle on the right side of the knitting.

The stitch pattern for a ruffled edging with M1L / M1R increases is as follows: 

Row 1 (RS): P5, *k1, p5, rep from * end.

Row 2 (WS): K5, *p1, k5, rep from * end.

Row 3 (RS): P5, *M1R, k1, M1L, p5, rep from * end.

Row 4 (WS): K5, *p3, k5, rep from * end.

Row 5 (RS): P5, *M1R, k3, M1L, p5, rep from * end.

Row 6 (WS): K5, *p5, k5, rep from * end.

The m1l and m1r increases between the sections of purl and knit stitches are continued as shown above until the ruffled edging has reached the desired length. 

Whilst the above technique produces a neat looking ruffled edge, it is time consuming as a result of the m1l / m1r increases. 


The Simple Ruffled Edge - Without M1L / M1R Increases
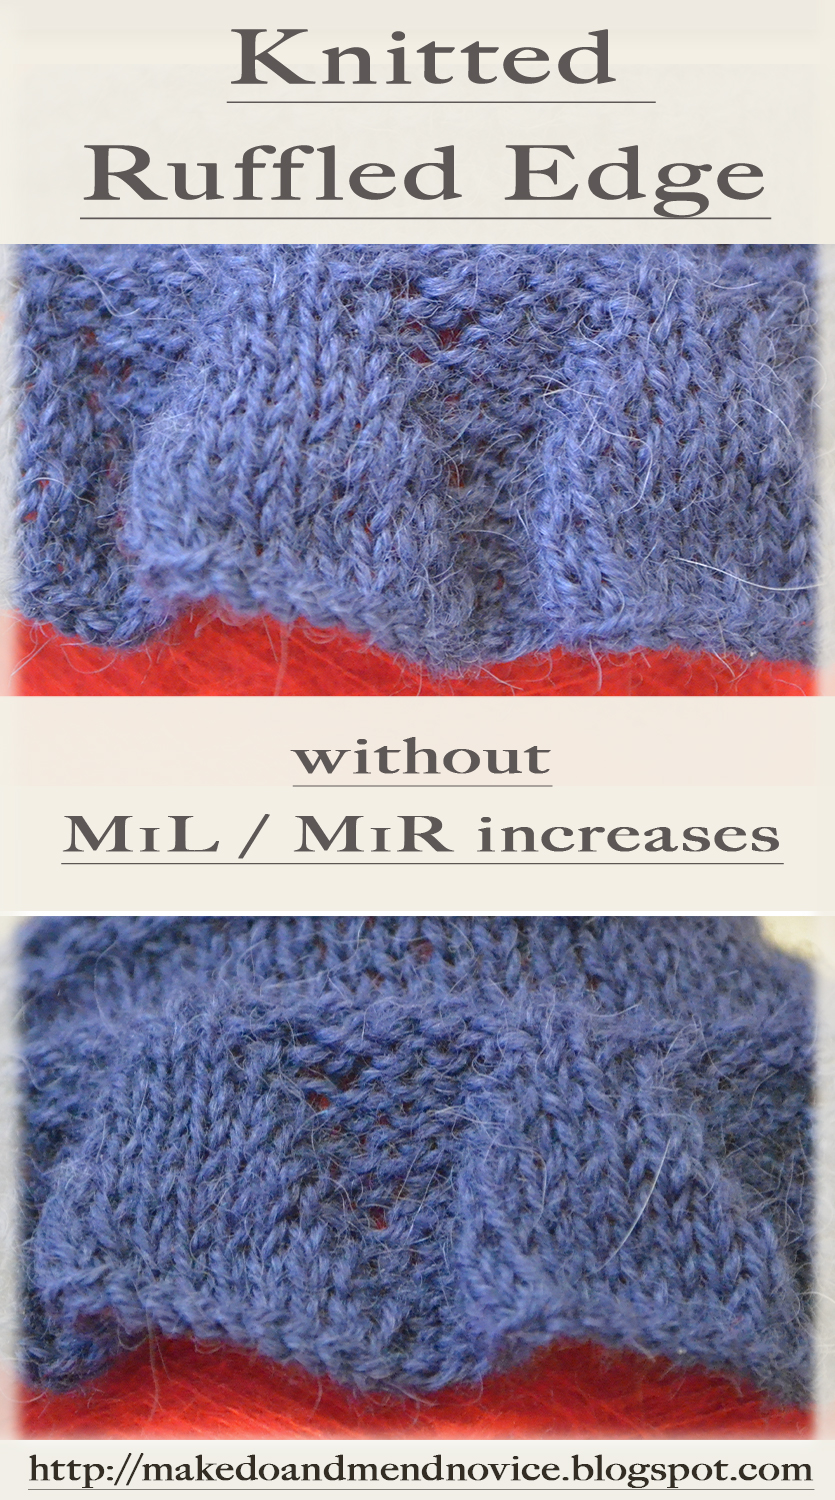
Ruffled Edging Knitting

The Simple Ruffled Edge - Without M1L / M1R Increases


In my efforts to avoid m1l / M1r, I decided to try knitting the ruffled edge with kfb (knit one into front and back) increases initially. Yet, when I knitted my edge sample with kfb increases, I didn't feel that the symmetry of the edging looked quite right, as the kfb increases created large holes in the fabric. All in all, I felt that the kfb increases didn't look neat. To fix this and improve the appearance of the ruffled edge without working m1l and m1r increases, I proceeded to work the increases slightly differently and tried something new. 

Instead of knitting in the front and back of the stitch that was to be increased, I decided to work p/ktbl and k/ptbl increases before and after the knit stitches on the right side row. (I am not sure whether the abbreviations k/ptbl and p/ktbl are correct, but as I was unable to find them referenced anywhere, I am for now just going along with these abbreviations to describe this type of increase.)

The p/ktbl and k/ptbl increases are achieved by purling (as normal) and then knitting through the back loop of the same stitch (p/ktbl) and by knitting (as normal) and then purling through the back loop of the next increase stitch (k/ptbl), thus maintaining the symmetry of knit and purl stitches. 

Increasing in this way tightens the holes, that would appear if a simple kfb increase was used, and is also much faster than working the m1l / m1r increases, which are traditionally called for. By working the increases into the purl stitch immediately preceding and following the knit stitches I maintained the increases on the right side rows just before and after the knit stitches. 

The P/ KTBL  K/PTBL Ruffled Edge

The stitch pattern for a ruffled edging with a multiple of 6 plus 5 stitches worked with P/ KTBL and K/PTBL increases looks like this: 

Row 1 (RS): P5, *k1, p5, rep from * end.

Row 2 (WS): K5, *p1, k5, rep from * end.

Row 3: P4, *(p/ktbl) into same stitch, k1, (k/ptbl) into same stitch, p3, rep from * to last stitch, p1.

Row 4: K5, *p3, k5, rep from * end.

Row 5: P4, *(p/ktbl) into same stitch, k3, (k/ptbl) into same stitch, p3, rep from * to last stitch, p1.

Row 6: K5, *p5, k5, rep from * end.

Row 7: P4, *(p/ktbl) into same stitch, k5, (k/ptbl) into same stitch, p3, rep from * to last stitch, p1.

Row 8: K5, *p7, k5, rep from * end.

Row 9: P4, *(p/ktbl) into same stitch, k7, (k/ptbl) into same stitch, p3, rep from * to last stitch, p1.

Row 10: K5, *p9, k5, rep from * end.

Row 11: P4, *(p/ktbl) into same stitch, k9, (k/ptbl) into same stitch, p3, rep from * to last stitch, p1.

Row 12: K5, *p11, k5, rep from * end.

Continue to increase as above until the edging has reached the desired length and proceed to bind off in pattern.


ruffled edge knitting no m1r / m1l increase
Simple Knitted Ruffled Edge 


For more knit stitch patternsplease follow this link to my knit stitch library.

Sunday, 17 January 2021

The Weekly Swatch: Elongated Cable Knit Stitch

Elongated Cable Knit Stitch


A fun stitch that creates cable clusters, which are connected via elongated stitches. The long stitches are created by wrapping the yarn round the needle twice. The extra loops are dropped before the cable is worked on the following row.  

Saturday, 16 January 2021

The Weekly Swatch: Little Laurel Knit Stitch


Coin Knit Stitch
Little Laurel / Coin Knit Stitch


The Little Laurel Knit Stitch is another super simple knit stitch. The appearance of little laurel wreaths is achieved through a combination of knit and purl stitches only. The pattern is worked over 8 rows and the sample in the images is worked on a multiple of 4 plus two stitches. 

The Weekly Swatch: Clove Knit Stitch


Monday, 28 December 2020

The Weekly Swatch: Ridged Feather Knit Stitch


A variation of the Feather and Fan knit stitch, the Ridged Feather Knit Stitch is another classic and simple lace knit stitch. This stitch motif consists of four rows and the lace in- and decreases are worked on the third row. The remaining rows are knitted and purled throughout.