Knitted seamlessly from the top down, this is a made to measure project without a written pattern as such.
The number of cast - on stitches depends on your gauge swatch, your own measurements, the chosen needle size and the type of wool you are using. The pattern allows for modifications at every step of the way and what follows are my instructions for a cardigan in size S, knitted in stockinette stitch, with garter stitch edging at the bottom.
Should you wish to use another stitch motif, you simply have to knit the gauge swatch in the desired stitch and derive your measurements from your test swatch.
I used the following materials:
- Yarn: Madelinetosh, Tosh Merino Light (Sock Yarn) - 1 hank
- Needle: 5mm (US size 8) circular needle, 4 double - pointed needles (5mm / US size 8)
- Scrap yarn, 4 stitch markers, scissors, darning needle
 |
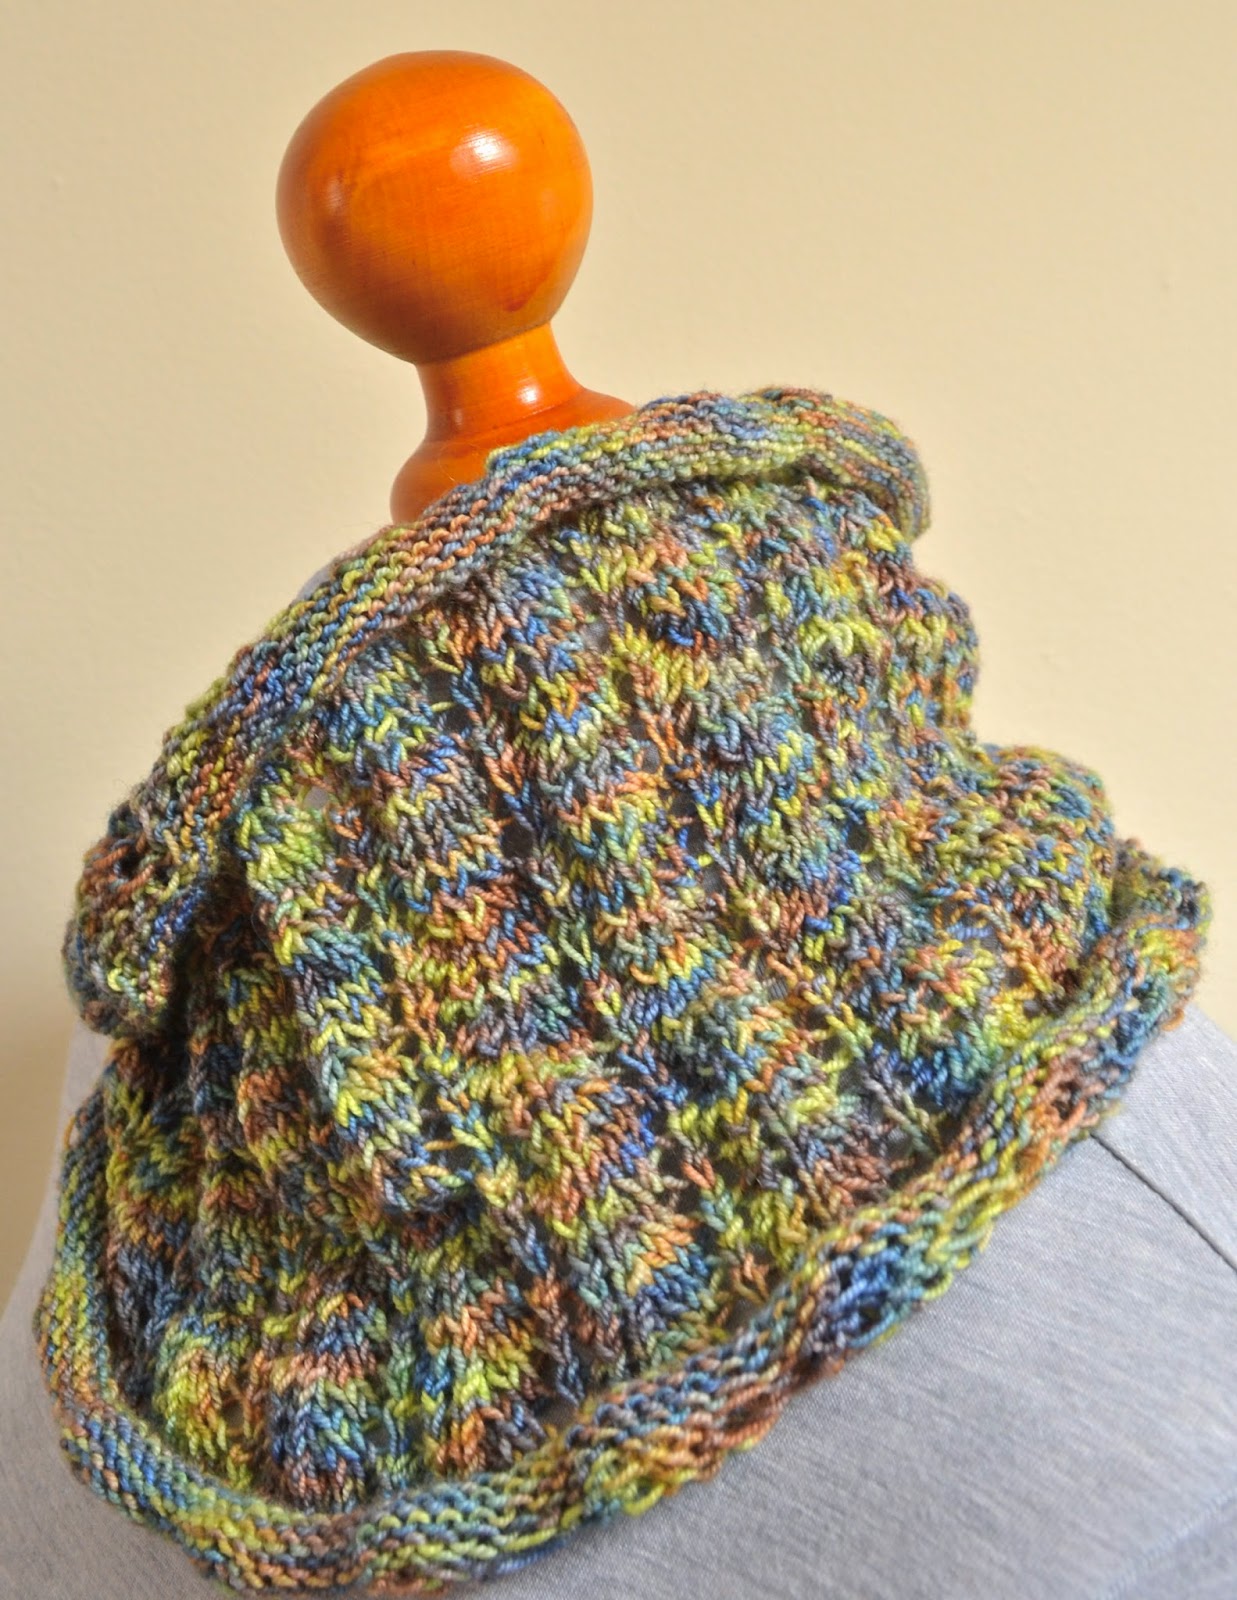
| Madelinetosh Tosh Merino Light Sock Yarn, Colourway: Victorian Gothic |
 |
| Madelinetosh Tosh Merino Light Sock Yarn, Colourway: Victorian Gothic |
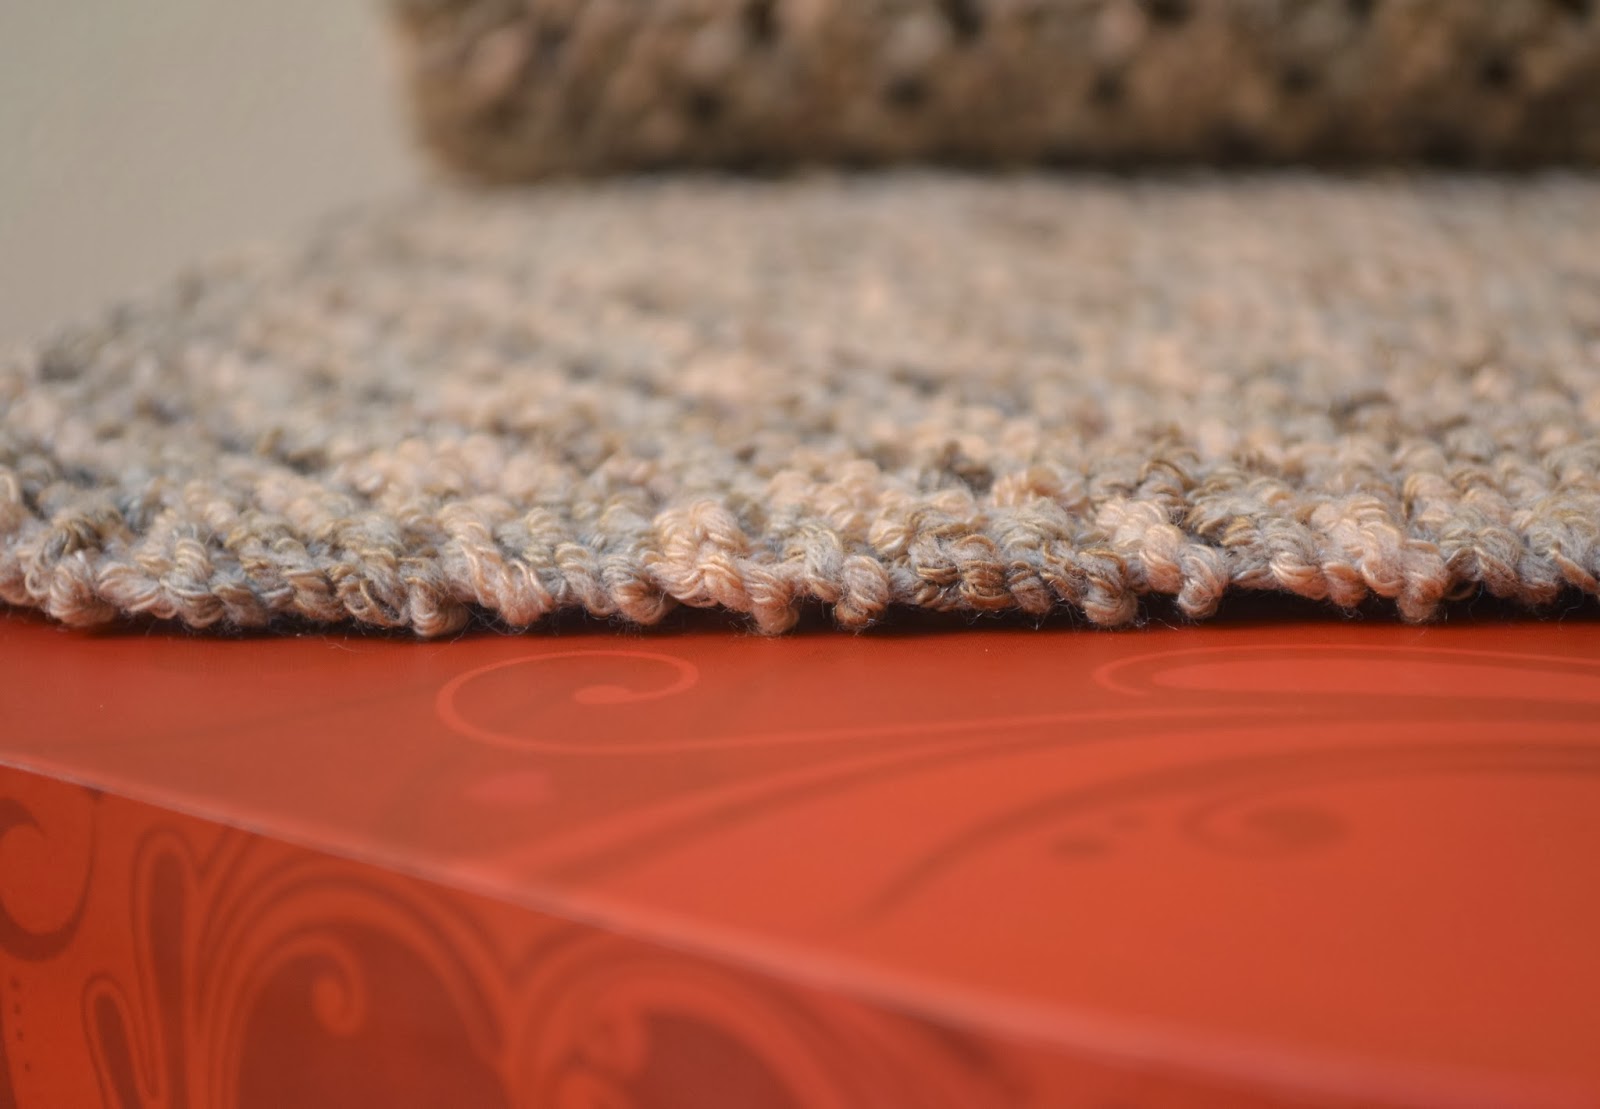
Prepare your gauge swatch and block it in whichever way you see fit. Count the stitches and calculate the number of stitches against the measurement of the gauge swatch: In my gauge swatch, 26 stitches in stockinette stitch measured 10cm exactly.
 |
| Gauge swatch in stockinette stitch. |
Next, you will have to determine how many stitches are required for the neckline of your cardigan. You can either measure yourself or, as this is not always as straightforward, opt to measure the neckline of an existing garment. My neckline measurement was 51cm.
Once you have determined the neckline measurement, you calculate the number of stitches to be cast on proportionally:
The general calculation looks as follows:
(measurement of desired neckline x number of stitches in swatch sample) / measurement of swatch = number of required stitches
For my cardigan, the calculation looks like this:
(51cm x 26sts) / 10cm = 132.6sts
I rounded the stitch total to 135, in order to easily divide the stitches between the various sections.
Once you have determined the number of stitches required, you are ready to start knitting:
Cast on 135 stitches:
- 1st row: knit all stitches
- 2nd row: purl all stitches
(After completion of this row, I decided to incorporate a button hole at the beginning of the next row, but this is entirely optional.)
Next, divide stitches between markers for the front, back and the two sleeve sections:
- 45 for the back section, 46 in total for the front sections and 22 stitches for each sleeve section
- 3rd row: knit 23, place marker, knit 22, place marker, knit 45, place marker, knit 22, place marker, knit 23
- 4th row: purl, slipping markers as you complete the row
From the next row onwards, you start the Raglan increases. Until you are able to fit your arms comfortably through the sleeve sections, the number of stitches will have to be increased as set out below.
- 5th row: knit to two stitches before 1st marker, kfb, knit, slip marker, kfb, knit to two stitches before next marker. Continue increasing the stitch count as set-out above until the row row is complete, increasing one stitch before and after each marker.
- 6th row: purl all stitches slipping markers as you complete the row
Continue in stockinette stitch, increasing stitches before and after each marker on every knit row as shown above.
Continue knitting in stockinette stitch until your arms fit through the sleeves. (I increased the sleeve sections from 22 stitches to a total of 45 stitches between markers.)
When the sleeves are wide enough and the fit is comfortable, proceed as follows:
- Knit to 1st marker, remove marker, place all stitches between markers on scrap yarn. Remove second marker. Join first front section with back section, continue knitting to second sleeve section, remove first marker, place stitches between markers on scrap yarn, remove second marker, join back section with second front section. Proceed to knit until end of row.
Proceed to knit in stockinette stitch, removing all markers until your cardigan has reached the desired length. (You will have to keep checking the fit of the cardigan whilst knitting.)
Once your cardigan has reached the desired length, knit 4 rows in plain garter stitch (to avoid rolled edges) and bind off.
Having completed the Torso, it's time to move on to the sleeves:
As pictured above, the live sleeve stitches are held on scrap yarn. Divide these stitches evenly between 3 double - pointed needles and remove the scrap yarn. To give the sleeves a neater look and to avoid the appearance of "underarm holes", pick up a few stitches underneath the arms, where the front and back sections were originally joined. This will stabilise the sleeve and create an overall tidy appearance.
It is now up to you to decide, how long the sleeves should be. As I wanted to use one skein of sock yarn exactly, I settled for short sleeves, which only required me to knit three rows in the round until bind-off.
Once you have completed the sleeves, your cardigan is ready to be blocked.
As this garment is knitted in one piece, blocking can be quite a challenge and I decided to pin it against my dressmaker's dummy, whilst steam - blocking the fabric.
Should you require pattern support, please feel free to contact me via Ravelry or leave a comment below.
This pattern is for personal use only and may not be reproduced for commercial purposes without permission.