|
| Nameless |
The Nameless Choker is a simple and quick lace project, specifically designed to use up a small quantity of sock yarn (approximately 10 - 20 grams), i.e. roughly the amount of yarn you might have lying around following the completion of a larger project. The quantity of yarn I used for my choker hardly registered on my set of kitchen scales and the above estimate is rather conservative.
It is also an ideal pattern for beginner lace knitters, wishing to get to grips with two of the most common knitting decreases (k2tog and ssk), without having to commit too much time or too many resources; or for all those knitters who enjoy creating knitted accessories and jewellery, either for themselves or for others.
Materials
You will require the following materials:
- approximately 10 - 20 grams of sock yarn (for my choker I used Madelinetosh Tosh Merino Light Sock Yarn in Victorian Gothic)
- 3mm knitting needles (or the size specified by the yarn manufacturer)
- scissors
- darning needle
- 2 buttons
 |
| Nameless Choker in Progress |
Gauge
Gauge is not essential for this project but you should have a rough idea of how stretchy your chosen yarn is. This is a made-to-measure project, and as neck circumferences differ, you will have to regularly check whether your choker has reached the desired length. If you decide to knit this project with an unfamiliar yarn and you are not entirely sure how far it will stretch after blocking, it may be beneficial to knit a small gauge swatch and block this in order to get an idea of how the yarn will behave and, most importantly, to check its stretch.
 |
| Nameless Choker in Progress |
Project Instructions
- Set - up:
- Cast on 12 stitches, using whichever cast-on method you are most comfortable with.
- Knit 4 rows
Once you have completed the set - up, you are ready to start on the lace sequence of the pattern:
- Lace Pattern:
Row 1: K3, YO, K1, K2tog, SSK, K1, YO, K3
Row 2: K2, P8, K2
Row 3: Repeat Row 1
Row 4: Repeat Row 2
Keep repeating the above sequence until both ends of the choker almost meet, when it is fitted for measuring. Bearing in mind that the choker should fit relatively tightly around the neck, I left a gap approximately as wide as the top of my index finger to allow for a snug fit following blocking.
When your choker has reached the desired length, stop knitting the lace sequence on a purl row. Next, continue knitting three rows in garter stitch and proceed to bind off.
 |
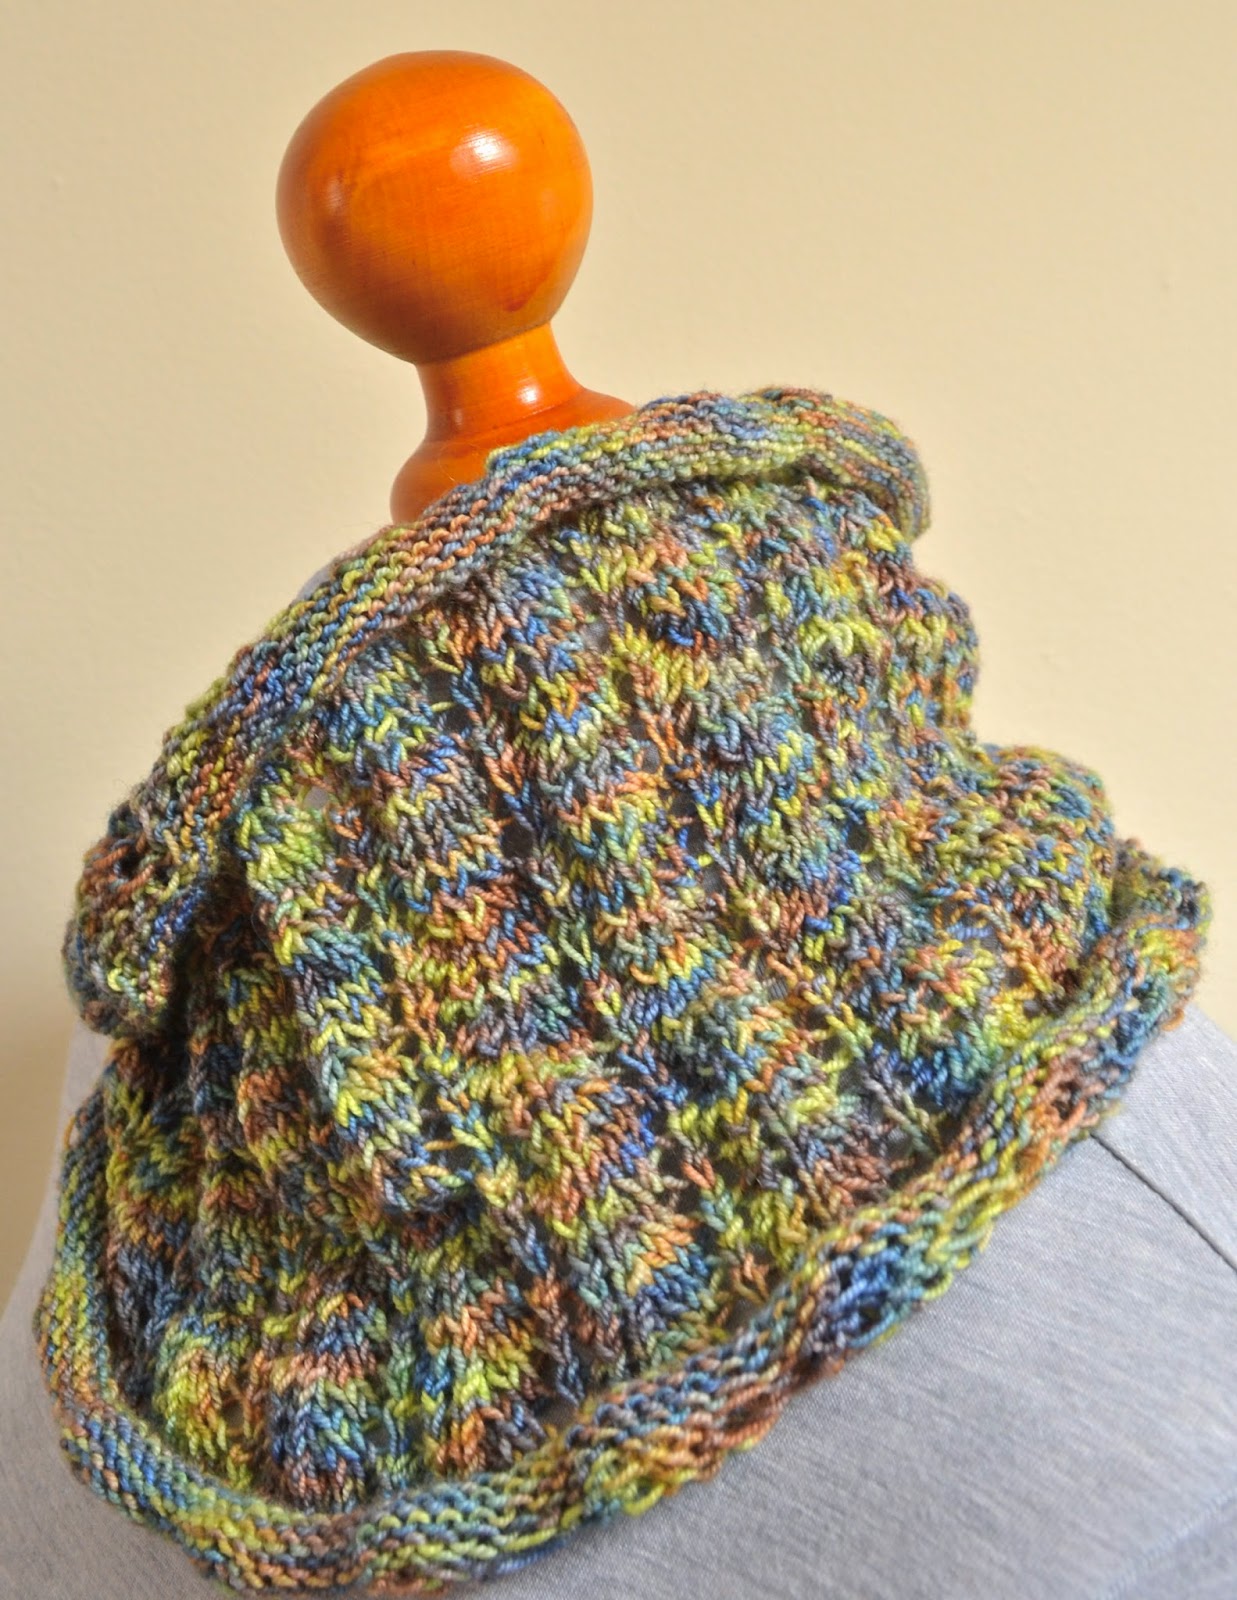
| Nameless in Madelinetosh Tosh Merino Light (Victorian Gothic) |
- Blocking:
Blocking your choker is an absolute must in order to open up the lace. I opted for wet-blocking.
- Finishing:
Following blocking, it is time to sew in ends and to add two buttons for fastening the choker. The buttons can be attached to either end of the choker. I decided to place mine on the cast - off edge, as this usually turns out slightly wider, directly underneath the openings of the yarn over increases. The first holes created by the yarn over increases on the opposite end will serve as button holes.
Your choker is ready to be worn.
 |
| Nameless in Madelinetosh Tosh Merino Light (Victorian Gothic) |
Enjoy!
! Update: One year on, I am revisiting the Nameless Choker. I am currently in the process of adapting the pattern to non-traditional knitting materials (cotton thread / leather etc). More on this venture is available here. !
! Update: I have designed another lace choker pattern (image below), the Brocade Choker. My pattern is available here. !
 |
| Brocade Choker Knitting Pattern |
For pattern support, please feel free to contact me via Ravelry (ClariceAsquith), Twitter (@Slipstitched), leave a comment below or by e-mail: clarice.asquith@googlemail.com.
This pattern is for personal use only and may not be reproduced for commercial purposes without permission.
An update on knitting a variation of this pattern (pictured below) with non-traditional materials is available here:
 |
| Nameless Cuff, More here. |
 |
| Nameless Cuff, More here. |