The Winter Stole pattern was developed to encourage knitters (and myself) to diversify the choice of materials when knitting lace. Depending, of course, on the complexity of the lace stitch sequence and the overall design, I was aiming to showcase that it is possible to produce knitted lace with chunkier yarns.
 |
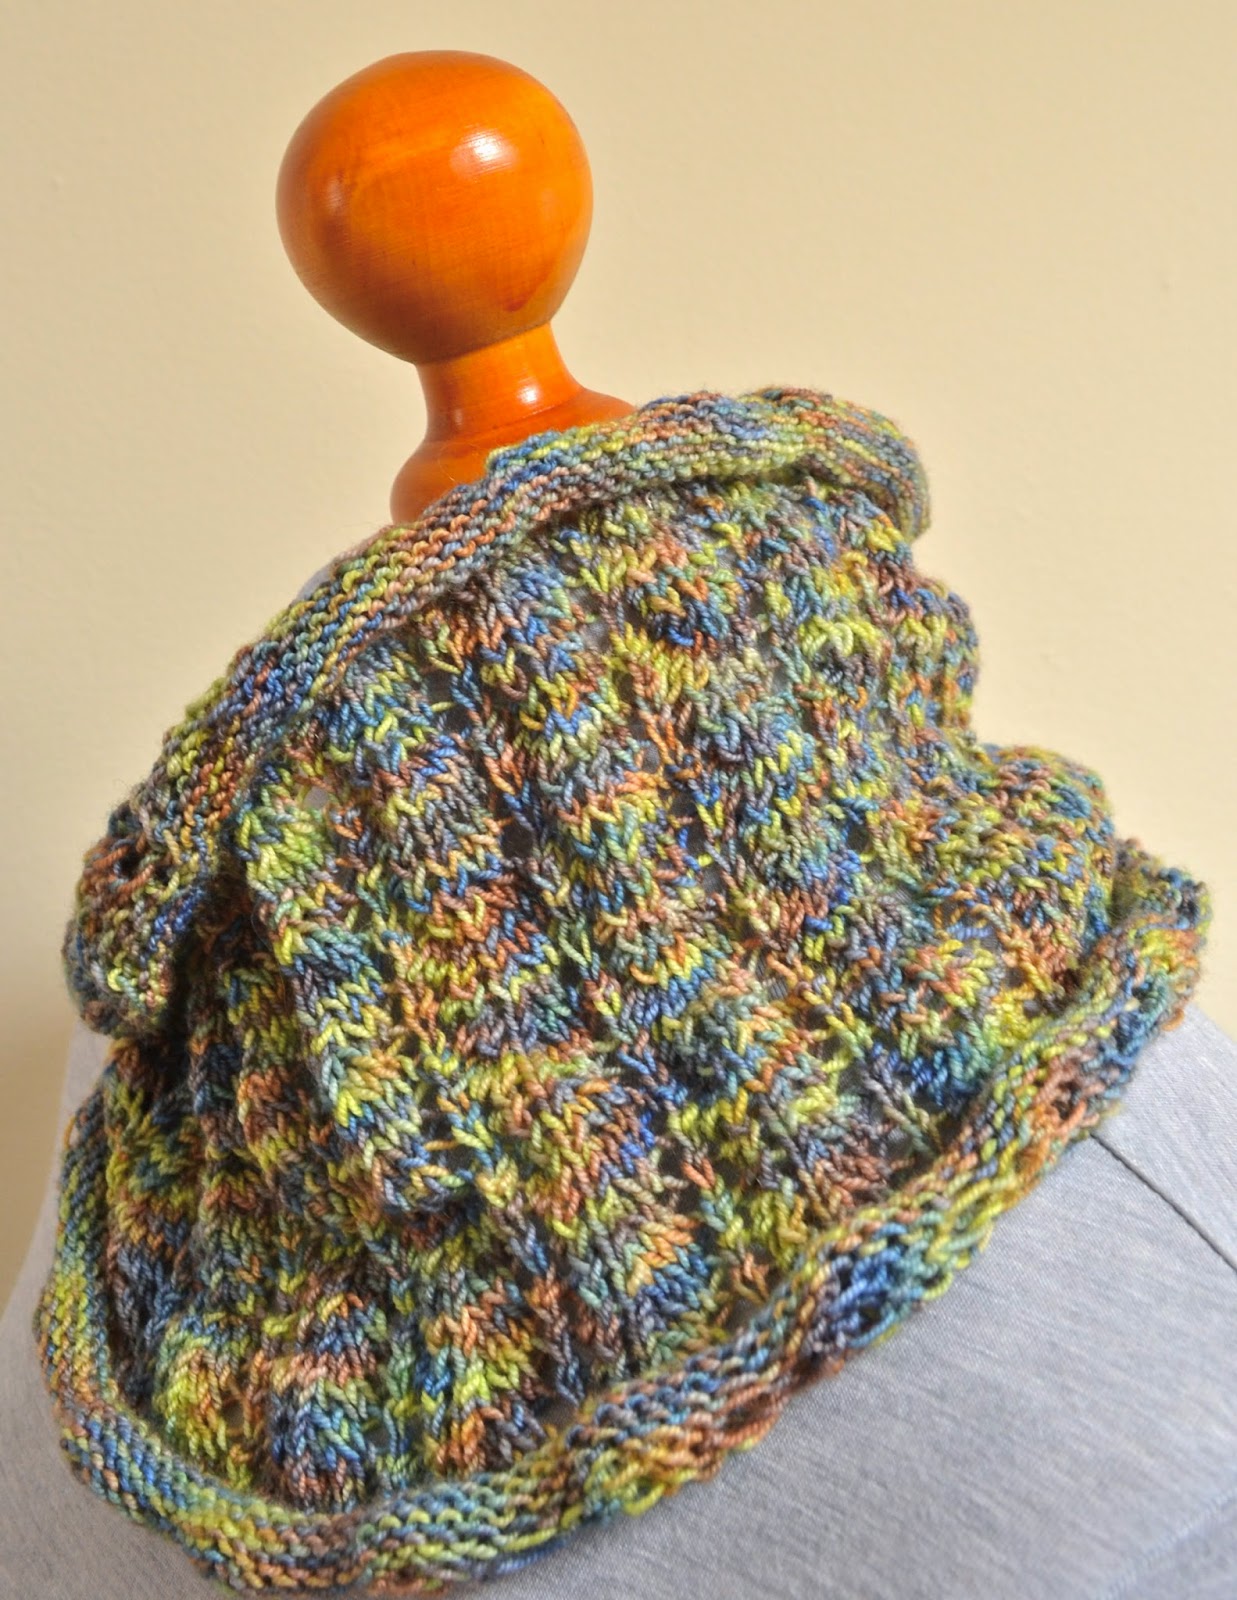
| Winter Stole (yarn: Wendy Zena, pattern available here. |
 |
| Winter Stole (yarn: Wendy Zena, pattern available here. |
Thanks to Tara (tara53aus on Ravelry) I am now pleased to announce that the pattern has undergone its first 'independent' test knit and Tara's completed stole is pictured below:
 |
| Tara's Completed Winter Stole |
Regular readers of this blog will know that I am always thankful for the feedback I receive from the knitters of my designs, especially from those, who put their trust in a pattern that has so far only been completed by the pattern's very own designer. This was the case with the Winter Stole pattern.
This time round and following the feedback I received from Tara, I am particularly pleased to announce that my original Winter Stole pattern is free of mistakes, slips and no modifications are necessary.
 |
| Tara's Stole Blocking |
I was also delighted to see that Tara not only used a natural, undyed alpaca yarn to complete her stole, she also chose a very special handspun yarn from an independent producer in Western Australia.
Sadly, I was not able to retrieve more information on the producer over the web, but the ball band details can be seen in the picture below. So, if you are located in Western Australia, I suggest you get your hands on a delightful skein (or two) of Greg's and Wendy's handspun.

A remark on the pattern from my side: I have decided to update the pattern notes of the Winter Stole slightly with optional variations, to take those knitters into consideration, who are opting to use handspun yarn (Alpaca or otherwise) and may thus only have a finite amount of yarn to complete the project. The stole was designed to be rather wide and fewer cast-on stitches (resulting in fewer lace motif repeats in the body of the piece) will ensure that the piece will turn out long enough to be classed a 'stole'. These notes on modifications of the original pattern will be published shortly. In the meantime, the original Winter Stole pattern is available here.
Finally and once again, a very big 'THANK YOU!' to Tara for her feedback, for being the first to test the pattern and for choosing a delicious, independently produced, handspun yarn to complete her project.
For any interested knitters, wishing to complete a Winter Stole and requiring pattern support, please feel free to contact me via Ravelry (ClariceAsquith), Twitter (@Slipstitched), leave a comment below or by e-mail: clarice.asquith@googlemail.com.
For a link collection to all original designs on the blog, please visit this link.
For a link collection to all original designs on the blog, please visit this link.