Showing posts with label Stitch Library. Show all posts

Tuesday 9 March 2021

The Weekly Swatch: Wrapped Openwork Lace Columns (Knit Stitch Tutorial)

Wrapped Lace Openwork Columns Knit Stitch Tutorial

I am still in love with openwork knit stitches and have prepared another super simple openwork knit stitch for this week's weekly swatch. 

This knit stitch is worked over two rows on a multiple of three plus two stitches, making this an extremely simple, yet highly versatile lace ribbing stitch. This stitch looks (and feels) entirely different, depending on the yarn used. To showcase the look of this stitch in different yarn weights, I knitted my swatches in the images below with Araucania Botany Lace (sock yarn) and Rowan Bamboo Soft. 

Monday 1 March 2021

The Weekly Swatch: Ratchet Eyelet Knit Stitch


Cogwheel Eyelet Lace Knit Stitch

Catching up with the weekly swatch posts today, next up is the Ratchet Eyelet knit stitch. 

This stitch motif is knitted over 28 rows, making this a more elaborate stitch. When complete, the stitch results in what looks like garter stitch medallions, which are framed in a circle of eyelets, resembling ratchets. All the wrong side rows are purled throughout, allowing you to take a break from all the in- and decreasing on the right side rows. 

The Weekly Swatch: Openwork Lace Knit Stitch


Openwork Lace Knit Stitch


I don't seem to get enough of openwork lace at the moment. After completing my Winter's End Scarf, a mohair lace scarf that combines condo knitting and twisted stitches, I decided to prepare an openwork swatch sample for this week's weekly swatch. 

Sunday 14 February 2021

The Weekly Swatch: Staggered Eyelets


Staggered Eyelet Knit Stitch


Catching up with the posting of the weekly swatches today, next up is my swatch featuring simple staggered eyelets. It's worked over eight rows on a multiple of four plus three stitches, with the lace in- and decreases on rows three and seven.  

The Weekly Swatch: Chevron and Feather Knit Stitch


Chevron and Feather Lace Knit Stitch


A variation of the classic Feather Knit Stitch, the Feather and Chevron Knit Stitch is simple, yet impactful, as it creates a beautiful scalloped edge. This stitch can be memorised without problem. The stitch motif is created over two rows and the wrong side rows are purled throughout. 

Saturday 13 February 2021

The Weekly Swatch: Arrowhead Lace Knit Stitch


Arrowhead Lace Knit Stitch


The Arrowhead Lace Knit Stitch is a dainty lace knit stitch that results in vertical, arrow-shaped columns of lace, ideal for rectangular garments. It's knitted over four rows on a multiple of 10 plus 1 stitches. All the wrong side rows are purled throughout.

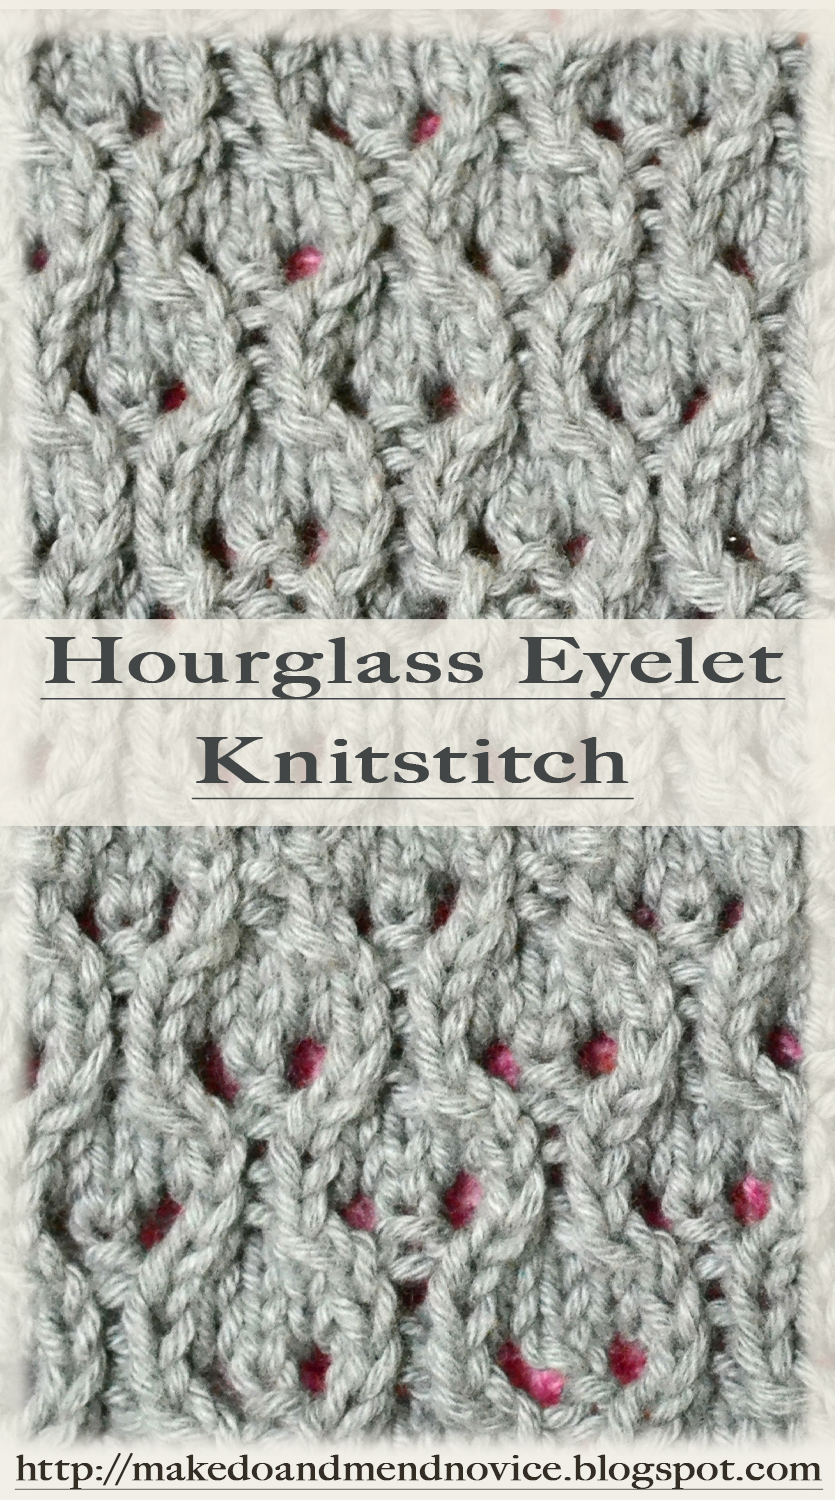
The Weekly Swatch: Hourglass Eyelets


Hourglass Eyelet Knitstitch


This week's swatch is the hourglass eyelet knitstitch, and whilst preparing my swatch sample, the stitch reminded me indeed of ladies' hips. 

It's a simple stitch pattern and the texture of the stitch motif is achieved through a combination of knit and purl stitches as well as standard in- and decreases. The stitch is worked over 8 rows on a multiple of 6 plus 1 stitches. 

Sunday 31 January 2021

The Simple Ruffled Edge - Without M1L / M1R Increases

The Simple Knitted Ruffled Edge (worked at the end of the knitting)  

When I was knitting my Virga Shawl, I wanted to incorporate a ruffled edge detail, but didn't feel like working m1l / m1r increases, considering the overall stitch count at this stage of the project (over 500 stitches). And so the search began for a simpler way of working the ruffled edging without m1l / m1r increases. 

Knitted Ruffled Edging
Knitted Ruffled Edging  - Virga Shawl Detail    


The Simple Ruffled Edge - With M1L / M1R Increases

The most common, simple ruffled edging is achieved by working m1l (make one left) and m1r (make one right) increases into the knitting. In the instructions below for a ruffled edge worked at the end of the knitting on a multiple of 6 plus 5 stitches, the m1l / m1r increases are placed just before and after the knit stitches on the right side rows. This results in an increase of purl stitches on the following row (wrong side row), whilst the amount of knit stitches on the wrong side rows remains constant throughout. In turn, as the stockinette part of the fabric grows, this creates the ruffle on the right side of the knitting.

The stitch pattern for a ruffled edging with M1L / M1R increases is as follows: 

Row 1 (RS): P5, *k1, p5, rep from * end.

Row 2 (WS): K5, *p1, k5, rep from * end.

Row 3 (RS): P5, *M1R, k1, M1L, p5, rep from * end.

Row 4 (WS): K5, *p3, k5, rep from * end.

Row 5 (RS): P5, *M1R, k3, M1L, p5, rep from * end.

Row 6 (WS): K5, *p5, k5, rep from * end.

The m1l and m1r increases between the sections of purl and knit stitches are continued as shown above until the ruffled edging has reached the desired length. 

Whilst the above technique produces a neat looking ruffled edge, it is time consuming as a result of the m1l / m1r increases. 


The Simple Ruffled Edge - Without M1L / M1R Increases
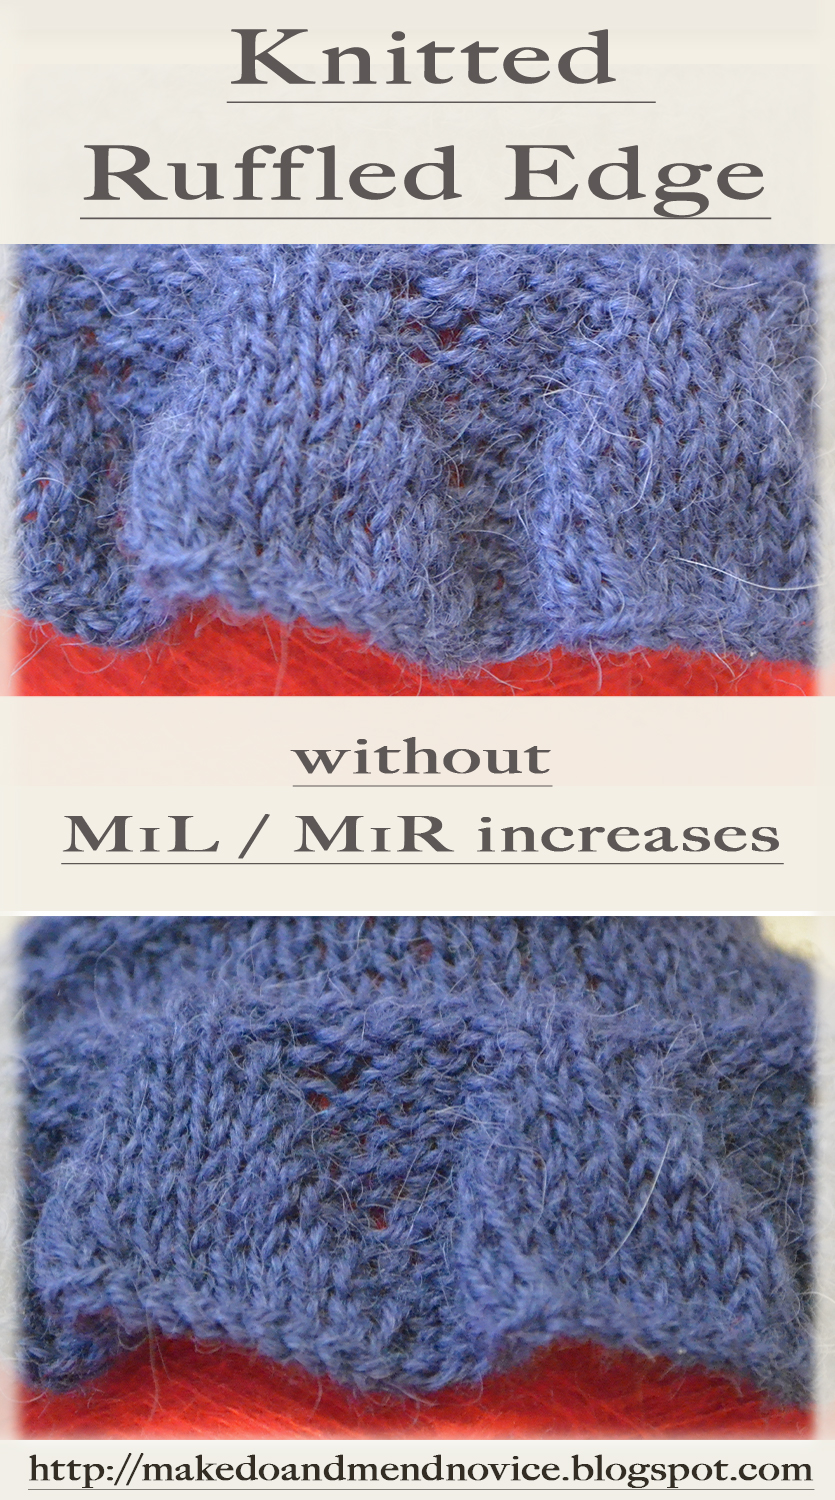
Ruffled Edging Knitting

The Simple Ruffled Edge - Without M1L / M1R Increases


In my efforts to avoid m1l / M1r, I decided to try knitting the ruffled edge with kfb (knit one into front and back) increases initially. Yet, when I knitted my edge sample with kfb increases, I didn't feel that the symmetry of the edging looked quite right, as the kfb increases created large holes in the fabric. All in all, I felt that the kfb increases didn't look neat. To fix this and improve the appearance of the ruffled edge without working m1l and m1r increases, I proceeded to work the increases slightly differently and tried something new. 

Instead of knitting in the front and back of the stitch that was to be increased, I decided to work p/ktbl and k/ptbl increases before and after the knit stitches on the right side row. (I am not sure whether the abbreviations k/ptbl and p/ktbl are correct, but as I was unable to find them referenced anywhere, I am for now just going along with these abbreviations to describe this type of increase.)

The p/ktbl and k/ptbl increases are achieved by purling (as normal) and then knitting through the back loop of the same stitch (p/ktbl) and by knitting (as normal) and then purling through the back loop of the next increase stitch (k/ptbl), thus maintaining the symmetry of knit and purl stitches. 

Increasing in this way tightens the holes, that would appear if a simple kfb increase was used, and is also much faster than working the m1l / m1r increases, which are traditionally called for. By working the increases into the purl stitch immediately preceding and following the knit stitches I maintained the increases on the right side rows just before and after the knit stitches. 

The P/ KTBL  K/PTBL Ruffled Edge

The stitch pattern for a ruffled edging with a multiple of 6 plus 5 stitches worked with P/ KTBL and K/PTBL increases looks like this: 

Row 1 (RS): P5, *k1, p5, rep from * end.

Row 2 (WS): K5, *p1, k5, rep from * end.

Row 3: P4, *(p/ktbl) into same stitch, k1, (k/ptbl) into same stitch, p3, rep from * to last stitch, p1.

Row 4: K5, *p3, k5, rep from * end.

Row 5: P4, *(p/ktbl) into same stitch, k3, (k/ptbl) into same stitch, p3, rep from * to last stitch, p1.

Row 6: K5, *p5, k5, rep from * end.

Row 7: P4, *(p/ktbl) into same stitch, k5, (k/ptbl) into same stitch, p3, rep from * to last stitch, p1.

Row 8: K5, *p7, k5, rep from * end.

Row 9: P4, *(p/ktbl) into same stitch, k7, (k/ptbl) into same stitch, p3, rep from * to last stitch, p1.

Row 10: K5, *p9, k5, rep from * end.

Row 11: P4, *(p/ktbl) into same stitch, k9, (k/ptbl) into same stitch, p3, rep from * to last stitch, p1.

Row 12: K5, *p11, k5, rep from * end.

Continue to increase as above until the edging has reached the desired length and proceed to bind off in pattern.


ruffled edge knitting no m1r / m1l increase
Simple Knitted Ruffled Edge 


For more knit stitch patternsplease follow this link to my knit stitch library.

Sunday 17 January 2021

The Weekly Swatch: Elongated Cable Knit Stitch

Elongated Cable Knit Stitch


A fun stitch that creates cable clusters, which are connected via elongated stitches. The long stitches are created by wrapping the yarn round the needle twice. The extra loops are dropped before the cable is worked on the following row.  

Saturday 16 January 2021

The Weekly Swatch: Little Laurel Knit Stitch


Coin Knit Stitch
Little Laurel / Coin Knit Stitch


The Little Laurel Knit Stitch is another super simple knit stitch. The appearance of little laurel wreaths is achieved through a combination of knit and purl stitches only. The pattern is worked over 8 rows and the sample in the images is worked on a multiple of 4 plus two stitches. 

The Weekly Swatch: Clove Knit Stitch


Monday 28 December 2020

The Weekly Swatch: Ridged Feather Knit Stitch


A variation of the Feather and Fan knit stitch, the Ridged Feather Knit Stitch is another classic and simple lace knit stitch. This stitch motif consists of four rows and the lace in- and decreases are worked on the third row. The remaining rows are knitted and purled throughout. 

Sunday 27 December 2020

The Weekly Swatch: Crest of the Wave Knit Stitch


Crest of the Wave Knit Stitch


Another classic lace knit stitch, this week's weekly swatch showcases the Crest of the Wave knit stitch. This lace stitch motif is worked over a total of 12 rows; and the lace in- and decreases are worked on rows 5, 7, 9 and 11 only. The remainder of rows are either knitted or purled throughout.